How it all works
The workflow for creating Telegram Co. quarterly showcase files uses base product information and images drawn from NetSuite which is then enhanced in Producty®. Page layouts are created using pre-made parent/master pages which arrange information based on the number of products to be included on each page.
Sample layout
Sample data logic
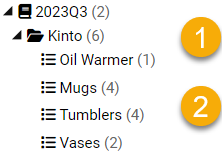
Catalogs are created within Producty® for each quarterly showcase. Each brand is shown as a sub-folder, with product pages shown as collections within this sub-folder. The brand section Kinto is shown as an example, with pages shown below are arranged to display Oil Warmer (one product), Mugs (four), Tumblers (four) and Vases (two products).
Importantly, different brands to be included must be located directly below the catalog root level, and all product pages must be in turn located directly below the brand level. Furthermore, collections should only contain 1, 2, 3, 4, 6 and 8 products. For product ranges requiring e.g. 10 products, please separate into collections containing 4 products and 6 products or 2 products, 4 products and 4 products.
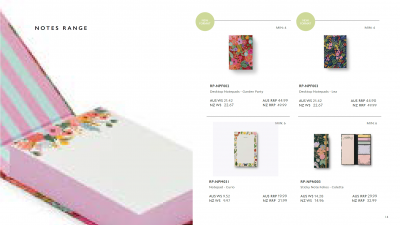
Sample pages
1 product

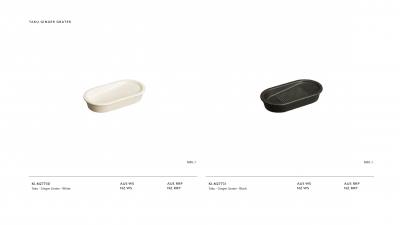
2 products
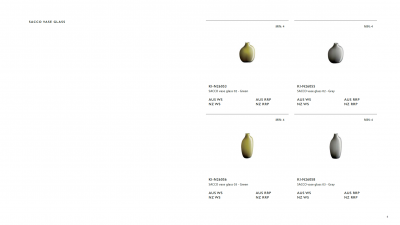
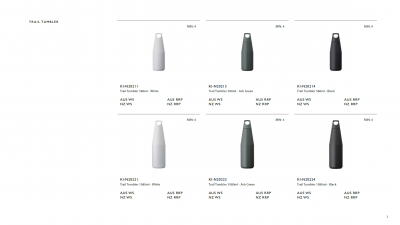
4 products
6 products
Data management
A Producty® specific export is available within NetSuite. Export this as an Excel file and take note of where the file is saved.
Catalog assembly
Catalogs are assembled within Producty®. Catalog pages will be created in Adobe InDesign in the exact order and size as shown.
Import from NetSuite export
Import the Excel file using the Producty® importer, selecting the fields which match your desired catalog structure.
Catalog structure
Once the initial catalog import has been processed, you may need to re-order or supplement the product information.
Adding new categories or collections
Catalog structure can be added as required.
- Click the Add button within the catalog tree toolbar.
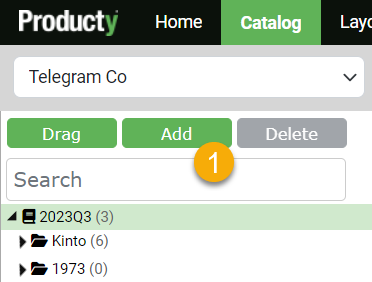
- Type the category/collection name in the dialog shown. Select the Collection checkbox if you want this category node to be a collection. (Note a collection is the terminal value in the catalog tree and is the level containing products.)
Adding products to a collection
Products can be added to a catalog as required.
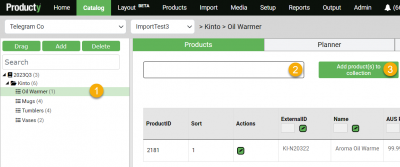
- Select the collection you would like to add product records to.
- Type part/all of a product code and select the matching product(s) from the list.
- Click the Add product(s) to collection button.
Re-ordering catalogs
Catalog structure can easily be re-arranged to suit.
- Click the Drag button within the catalog tree toolbar.
- Drag the source folder to the desired destination. (Note that the destination folder may be at the same level or within a parent/child category.)
Automation using EasyCatalog
Opening the InDesign template
To begin creating a catalog, open the relevant InDesign template complete with paragraph styles and relevant parent/master pages.
Loading/refreshing data
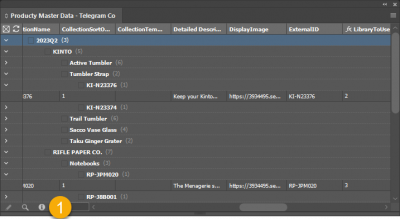
- Click the (i) information icon towards the bottom left of the EasyCatalog panel.
- Select Configure from the popup.
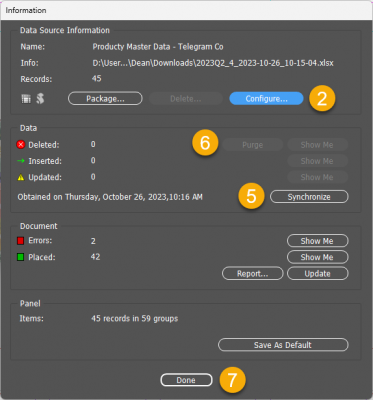
- Select Choose from the next popup and navidate to your most recent data export from Producty®.
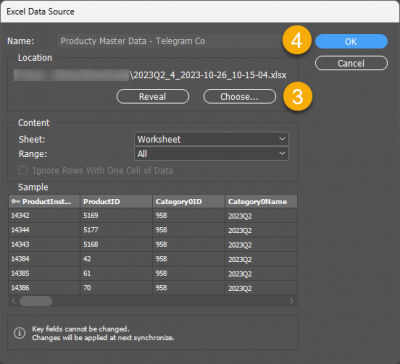
- Select OK to return to the previous popup.
- Select Synchronise to load the new data to your panel.
- Select Purge to remove any deleted records (note this only needs to be done if records have been removed from the data source).
- Select Done to return to the EasyCatalog panel. You are now ready to use this new data.
Paginating a catalog
- Select the desired data in the EasyCatalog panel. (Typically this will be the top level of the catalog you are creating.)
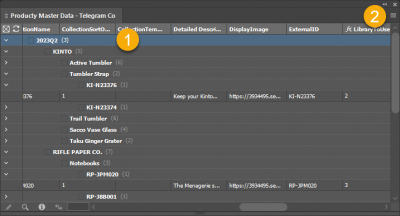
- Select Paginate from the flyout/hamburger menu at the top right of the EasyCatalog panel. A popup will appear.
- Choose the desired EasyCatalog library. (Note: This will remain chosen for future use.)
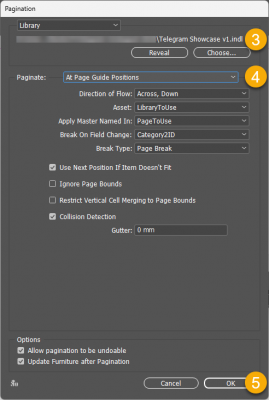
- Ensure the options shown match the image. (Note: These will remain chosen for future use.)
- Select OK to begin pagination. Depending on the number of pages, your catalog should be ready in 1-5 minutes.