
Search more than 200 articles to learn more about creating and automating your product catalogs
Tip: Start typing in the input box for immediate search results.
Creating a table of contents using Adobe InDesign
A table of contents is a very useful addition to any catalog or long document.
This guide explains how to create a simple table of contents using Adobe InDesign. To learn more about which table of contents method is right for your catalog requirements view our Which table of contents method is right for my catalog? guide
Document Setup
In a typical hierarchical catalog you would create paragraph styles to match your desired catalog structure:
- Category1
- Category2
- Collection
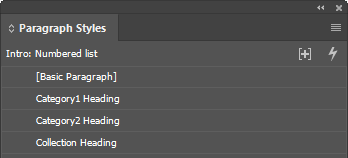
You will probably want to create corresponding paragraph styles for the display of the various levels within the table of contents. (If you omit this step then the paragraph styles will appear the same within the table of contents as they do within the document.)
Creating a Table of Contents
- Choose Layout > Table of Contents to open the table of contents dialog.
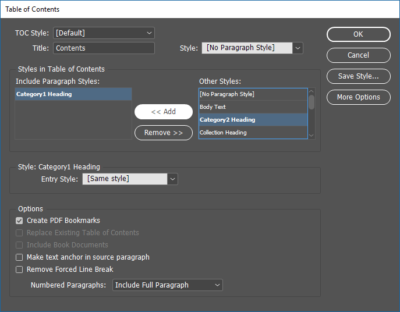
- Select the desired heading styles within the Other Styles list and choose <<Add to add them to the table of contents.
- Selected each of the styles listed under Include Paragraph Styles and set the Entry Style shown under the relevant Style: heading.
- Choose other options as required (e.g. to Create PDF Bookmarks).

For more information please refer the detailed Adobe help article https://helpx.adobe.com/indesign/using/creating-table-contents.html.